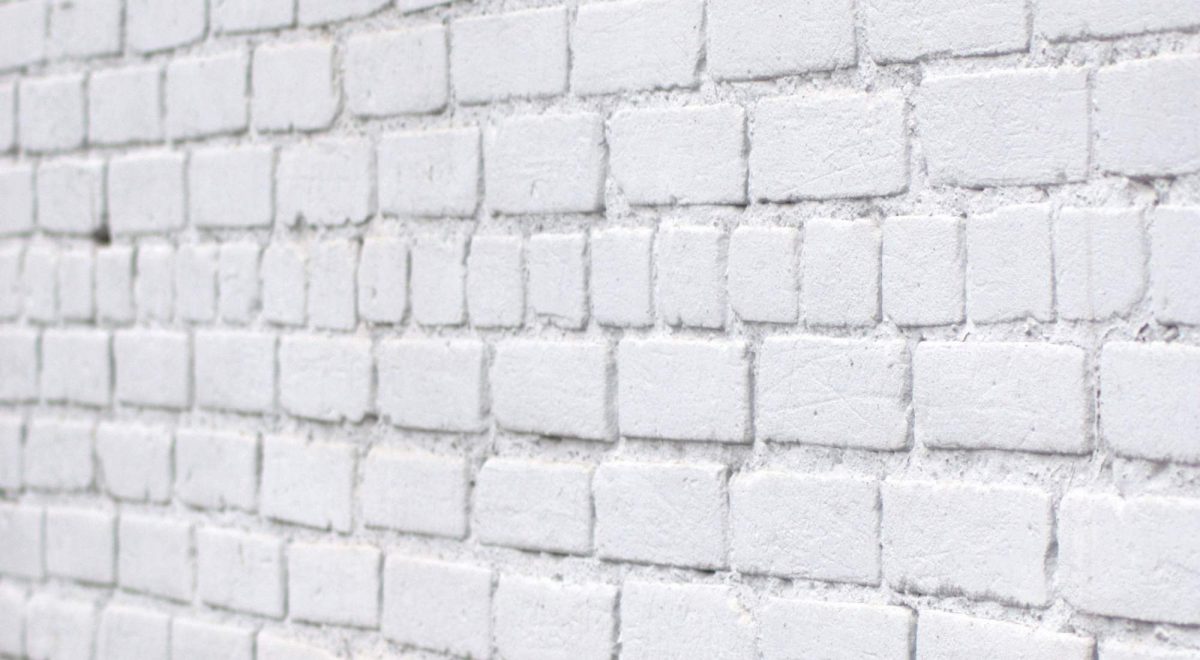
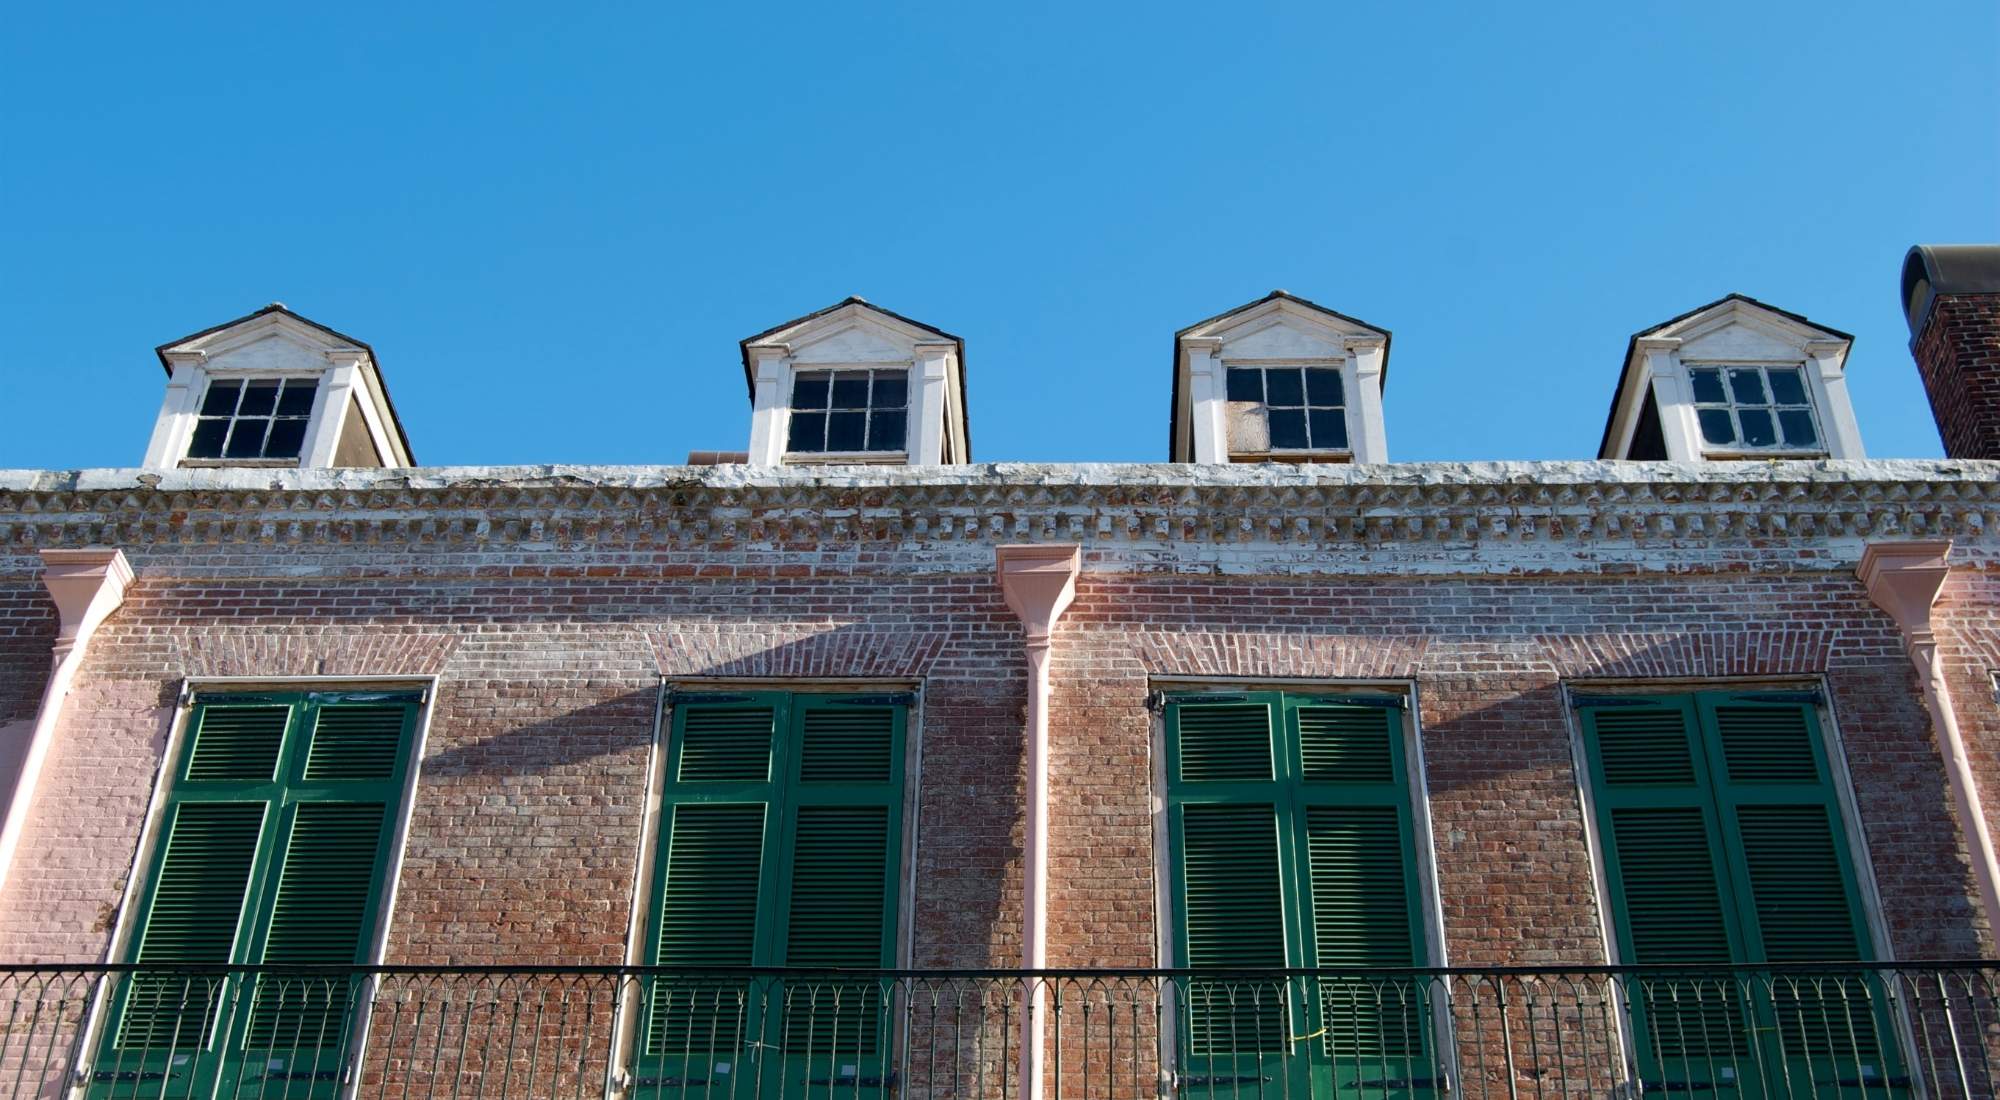
You’ve been staring at the painted brick exterior of your beautiful home for far too long.
Now you’re finally ready to undertake the task of restoring your home to its original beauty by removing the paint from the brick.
Paint removal –– should be easy enough, right?
Not exactly.
Removing paint from your brick exterior is time-consuming and difficult.
Fortunately, we’ve learned many tips and tricks over our 25 plus years of experience restoring historic buildings throughout Portland.
We’ve gathered our knowledge here for you in this guide to removing paint from a brick exterior in six steps.
Table of Contents
- Can You Remove Paint From a Painted Brick House?
- Supplies You’ll Need to Remove Paint From a Brick House
- Removing Paint From Brick Exterior in 6 Steps
- Other Considerations When Removing Paint From Brick Exteriors
- Want Help Removing Paint From a Brick House the Right Way? Get in Touch With the Pros at A1 Paint Removal
Can You Remove Paint From a Painted Brick House?
Is it possible to remove paint from brick?
The short answer –– yes, you can.
This article will cover everything you need to know about removing paint from a brick exterior.
Be warned, this task is labor-intensive, but not impossible.
If you’re a DIYer read on to find our top tips.
If you’d rather leave it up to the pros, get in touch with the experts at A1 Paint Removal, Painting, and Restoration who have perfected the process through years of experience since 1995.
At A1 Paint Removal, we guarantee your complete satisfaction in realizing the dream of bringing out the best in your home.
Supplies You’ll Need to Remove Paint From a Brick House
To get started removing paint from your brick house, it’s important to have the right supplies.
Brick is a porous surface which means that you probably won’t get very far simply scrubbing with a scraper or steel wool.
You’ll need to make sure you’ve set yourself up with the appropriate tools so grab this list as you head to the hardware store.
Here are the supplies you’ll need to successfully complete this type of job:
- Goggles
- Long-sleeved shirt
- Face mask or respirator
- Work gloves
- Drop cloth
- A stiff-bristled wire brush
- A caustic paint stripper
- Plastic sheeting
- Painter’s tape
- Drywall knife
- Peeling strips

Removing Paint From Brick Exterior in 6 Steps
#1: Test
If there’s still an excessive amount of paint left, try the testing process again this time with a different paint stripper brand.
Want to skip the trial-and-error of finding the right paint stripper for your brick?
A1 Paint Removal has had the pleasure of removing stubborn paint from many historical brick homes in Portland.
Let us take the project off your to-do list today!
#2: Clean and Prepare
- If the paint on your brick exterior is already flaking, consider removing it by scrapping the brick lightly with a metal putty knife or a wire brush.
- Once you’ve found the right paint stripper for your home, washing the brick thoroughly with a garden hose or power washer will make the process more effective.
- After rinsing, allow the brick to dry for a minimum of 12 to 24 hours.
Fast forward to your completely dry brick and you’re almost ready to get started.
This process will get messy.
Putting a little extra effort into your preparation means that the clean-up will be much easier.
Place a drop cloth below the work area to catch paint debris that falls off in the process.
Remember to tape down your cloth whenever possible to avoid it blowing around and risking a trip hazard.
#3: Wear Protective Gear
Don’t forget to grab your protective gear which includes:
- Goggles
- Long-sleeved shirt
- Face mask or respirator
- Work gloves
Check the Consumer Product Safety Commission’s recommendations on using a respirator properly while working with paint strippers.
#4: Apply Stripper
- Cut your plastic sheeting into three-foot square sections.
- Keeping your plastic sheeting, paint stripper, and putty knife close by, scoop the paint stripper out using your putty knife.
- Smear the paint stripper onto three-foot square sections of painted brick, just as you did with the test section. A good guide for applying a thick layer of the stripper is to spread it on as if you’re spreading peanut butter on a sandwich.
- Cover each section with your plastic sheeting after applying paint stripper.
- Repeat over the entire area. Make sure that the paint stripper doesn’t dry before you cover it with sheeting.
#5: Remove Paint
- Let the paint stripper do its work under the plastic sheeting on the brick surface for 30 minutes before peeling it off.
- After 30 minutes have passed, begin to carefully pull back the plastic sheeting.
- You will see the paint stripper along with the paint come off, leaving the exposed brick.
- You can use your putty knife to scrape off any paint or paint stripper remaining on some areas.
- Repeat the application process on any stubborn areas.
#6: Clean Up
- After the removal process is complete, carefully loosen the tape around your drop cloth.
- Fold the cloth in from each corner, to keep debris in place for easy cleanup.
- Toss your drop cloth and give yourself a pat on the back.

Other Considerations When Removing Paint From Brick Exteriors
Type of Paint You Need to Remove
When choosing your paint stripper, it’s helpful to consider the type of paint you need to remove.
The methods we discussed in this guide work best on latex and oil-based paints.
If you’re looking for how to remove spray paint from a brick exterior, you’ve got a different animal.
Follow these tips.
Best Paint Strippers to Use for Brick
Just like any other product, paint strippers can vary from one to the next.
We’ve found that most exterior brick walls have been painted with masonry paint.
Using thinners designed to remove masonry paint will deliver the best results.
Spray strippers have proven to be too thin and less effective – The thicker the better.
Avoid using paint strippers made with methylene chloride as they also tend to drip more – Not to mention methylene chloride is extremely toxic.
Having trouble finding the best paint stripper for your extremely stubborn paint?
Skip the trial and error.
With over 25 years of experience, A1 Paint Removal knows just the right paint stripper and technique to get the job done.
Rest assured A1 can restore the original beauty to your exposed brick exterior.
Temperature
Pro tip –– exposed brick is easily damaged and susceptible to cracking in extreme cold.
Before you get started make sure the brick won’t be exposed to freezing temperatures for at least three days after you’re done restoring it.
It’s recommended to restore your brick on warmer days to assure it can be left with ample time between stripping and restoring.
Tips and Tricks
We always recommend that you thoroughly read the manufacturer’s instructions on the paint stripper and any other chemical solutions you use.
Incorporate all instructions and safety precautions given by the manufacturer with the steps we’ve provided to ensure a safe and effective project.
Keep in mind this isn’t a one-and-done kind of job.
Multiple applications may be necessary to completely remove the paint.
A final pro tip –– if you’re still having trouble with persistent areas try applying white vinegar to the brick. Use a wire brush to scrub it in and lift up those last few stubborn paint flakes.

Want Help Removing Paint From a Brick House the Right Way? Get in Touch With the Pros at A1 Paint Removal, Painting & Restoration
Feeling a little unsure about shouldering the cumbersome task of removing the paint from your brick house?
We don’t blame you.
There’s a reason why The Commodores sang about a brick house.
Let A1 Paint Removal, Painting, and Restoration tackle your mighty, mighty brick house project.
With over 25 years of experience, we utilize only the best and most current techniques in the business.
By using green, chemical-free methods and a rigorous prep and cleanup protocol, we leave no trace behind — no paint chips, no mess — each and every day.
A1 Paint Removal can handle any paint project, including:
- Paint removal
- Interior painting; and
- Exterior painting
Whether you’ve got a historic home or a commercial architectural legacy, A1 can help you restore beauty without worry.
Give us a call today and we’ll provide you with a free, easy-to-understand estimate — with no hidden fees.