If you have a home or building that was built before 1978, the chances are high that you have some lead-based paint.
But what do you do?
Can you paint over the existing paint job, or is there a special process you need to follow to prevent exposing your family or clients to the dangers of lead poisoning?
If you’re wondering, “Can I paint over lead paint?” we can help.
Keep reading to learn what you need to know about painting over lead-based paint, including safety tips and a step-by-step process – and how to know when to call the pros.
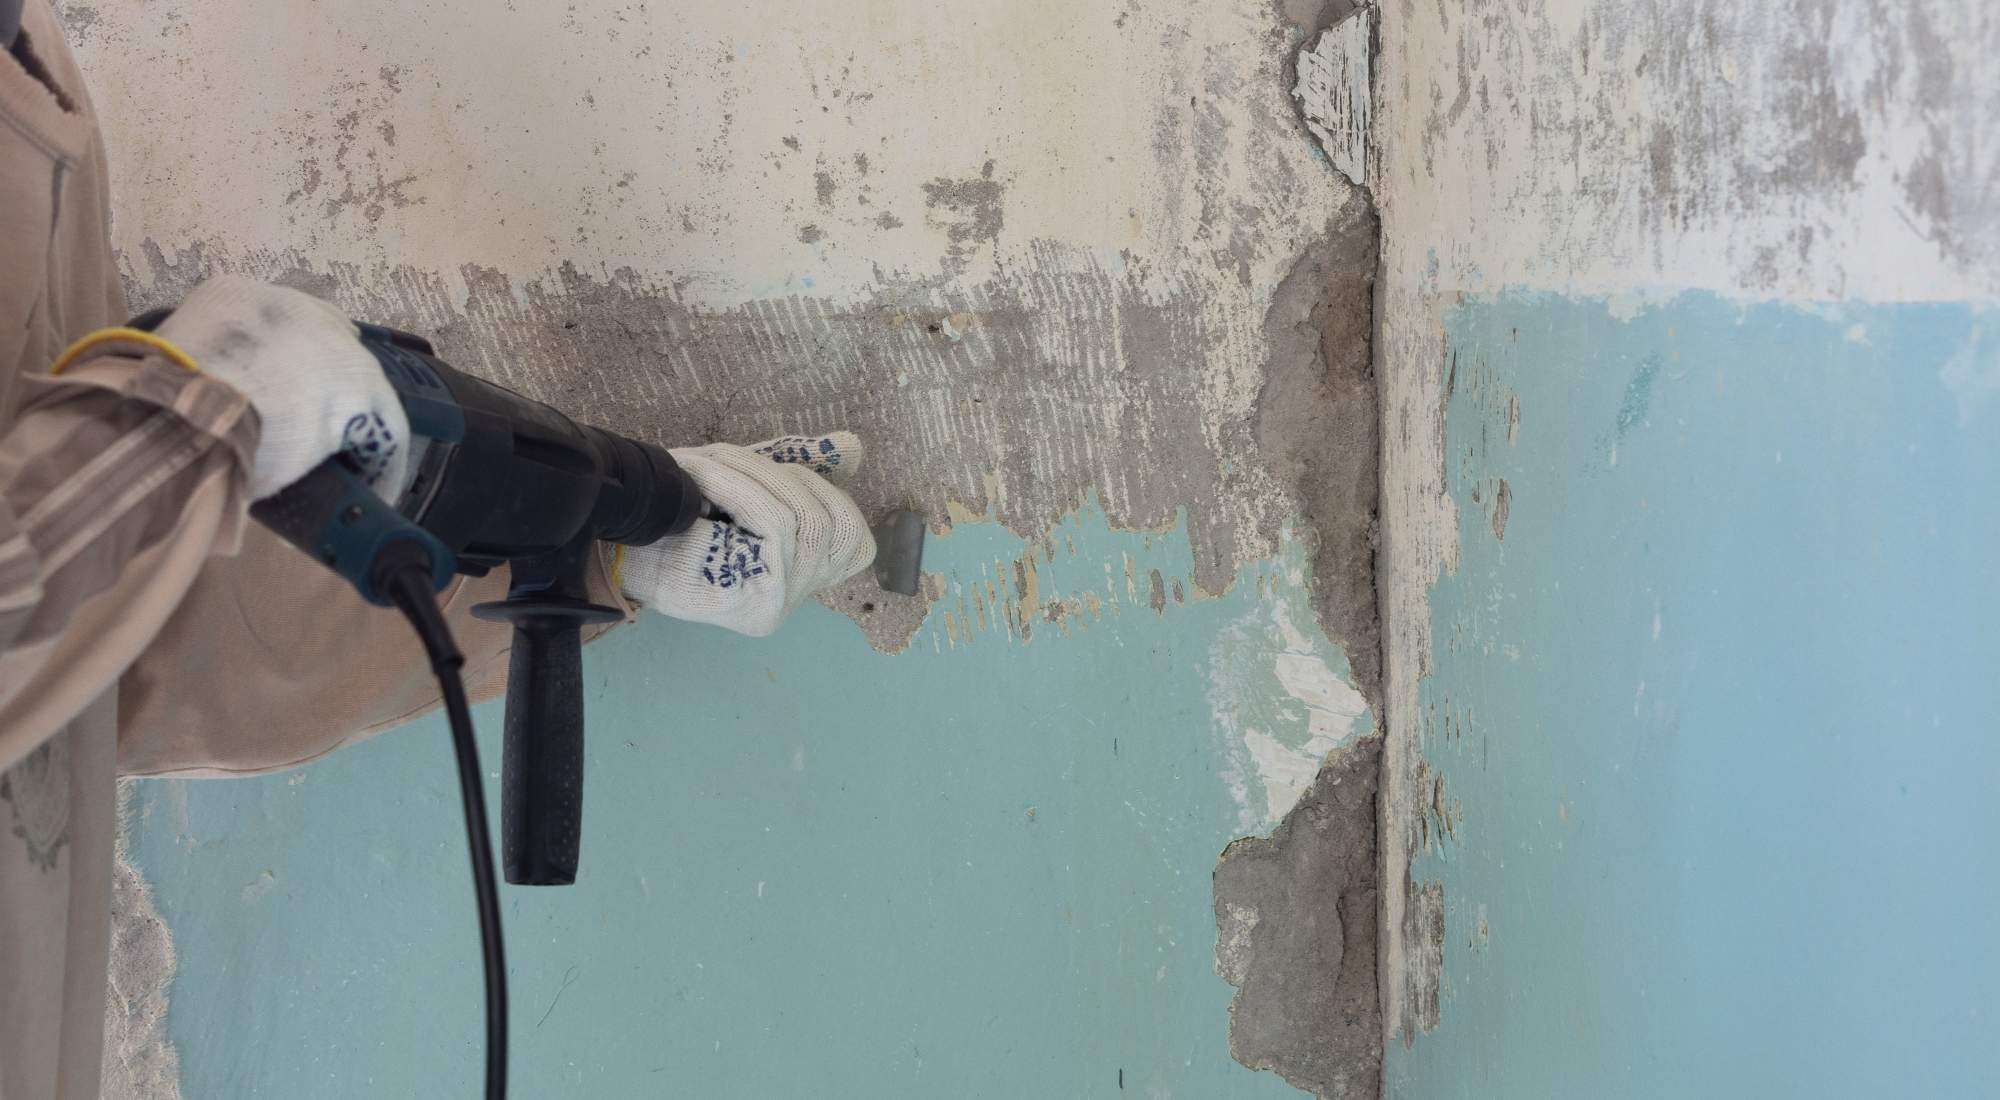
Table of Contents
- Is Painting Over Lead-Based Paint a Viable Remediation Option?
- Do You Need Special Paint to Paint Over Lead Paint?
- Does Painting Over Lead-Based Paint Make it Safe?
- What Safety Precautions Should Be Followed When Painting Over Lead-Based Paint?
- How to Paint Over Lead Paint: 6 Steps
- Can You Paint Over Lead-Based Paint on Your Own, or Does the Process Require a Professional?
- A1 Paint Removal, Painting & Restoration: Abating Lead-Based Paint Is One of Our Specialties
Is Painting Over Lead-Based Paint a Viable Remediation Option?
The short answer is yes.
But when painting over lead-based paint, you must use a type of paint known as an encapsulant.
We’ll talk more about encapsulants, why you need them and how they are applied in just a minute.
Do You Need Special Paint to Paint Over Lead Paint?
Yes. When painting over lead-based paint, an encapsulant is required.
Encapsulants are materials that:
- Are applied over lead-based paint to seal the paint
- Prevent the release of paint chips or dust
- Come in liquid and adhesive forms
- Act as a barrier between the paint and the environment
Conventional paint is NOT an encapsulant.
Does Painting Over Lead-Based Paint Make it Safe?
No.
Simply painting over lead-based paint covers the paint, but the level of risk of exposure remains the same. This is particularly true if you are painting over lead paint that is chipping or peeling.
Even if lead-based paint is in excellent condition, painting over it with conventional paint will not seal the lead paint. The toxins contained in the underlying layers of paint will still be exposed through the topcoat — and pose a threat to you, your family, and your pets.
Conventional paint is subject to wear and tear, particularly in areas of high traffic. Once the paint is damaged, there’s a heightened risk of the lead paint beneath releasing lead dust.
When Can You NOT Encapsulate Lead Paint?
Encapsulation may only be used on clean, dry surfaces and is not effective on surfaces that:
- Are suffering from deterioration, such as:
- Bubbling
- Peeling
- Chipping; or
- Flaking
- Are walked on, such as:
- Floors
- Stair treads; and
- Thresholds
- Rub against one another, including:
- Window jambs
- Headers
- Glides
- Some parting beads and stops; and
- Close-fitting door stops and jambs
If you are dealing with lead-based paint (or suspect that you may be) the safest option is to consult with a professional, like the experts at A1 Paint Removal, Painting, and Restoration.
With over 25 years of experience, A1 can help determine if painting over the existing paint is an option — and provide paint removal services if they’re needed.

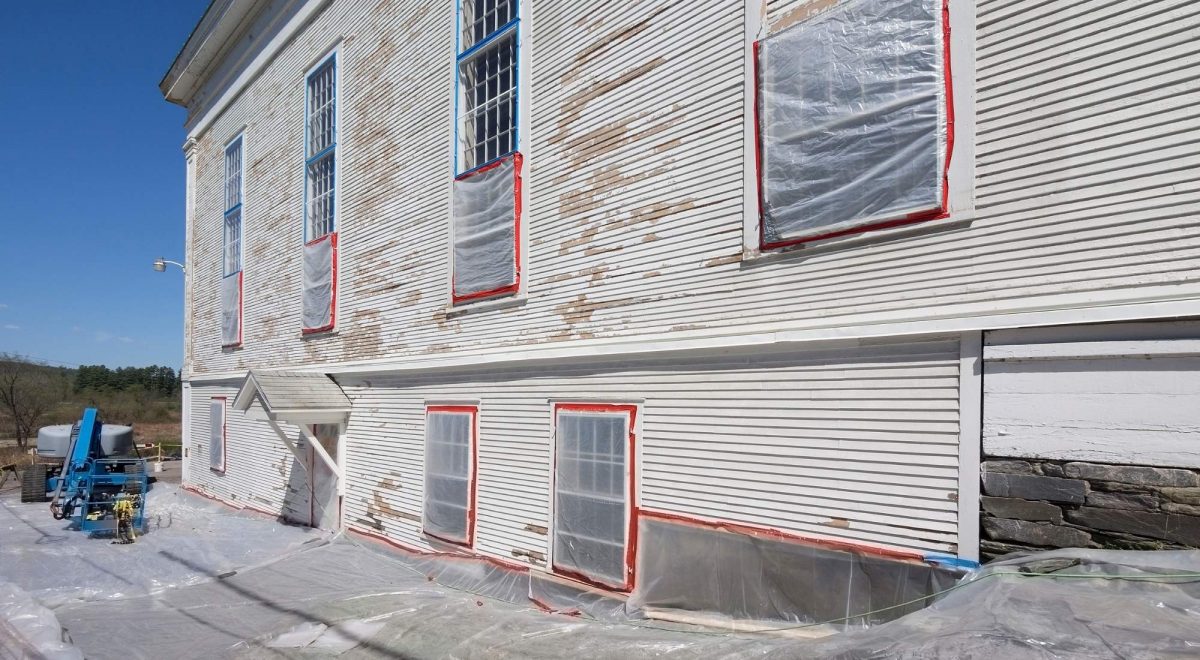
When Painting Over Isn’t an Option: Lead-Based Paint Removal
In instances where lead-based paint is peeling, chipping, or flaking, it will need to be removed. This can be done by using a highly involved paint stripping process.
However, the intricacies of lead-based paint removal are best left to trained professionals.
What Safety Precautions Should Be Followed When Painting Over Lead-Based Paint?
When painting over lead-based paint, you must take the following precautions to reduce the risk of exposure to you and your family:
- Do not scrape, chip or sand lead paint. Friction against the painted surface may release microscopic particles of dangerous lead paint dust into the air.
- Wear protective clothing, gloves, and shoe coverings to ensure that you keep the paint off of your clothing and skin.
- Keep people (and pets) away from the work area.
- Wear respiratory protection to prevent the inhalation of lead dust.
- Consider using a High-Efficiency Particulate Air Filter (HEPA) while you work (and for a while following completion of the job) to filter lead dust from the air.
- Remove and wash all protective gear at the end of each day to avoid contamination of other parts of the home.
- After the job, wash tools thoroughly and dispose of all drop cloths.
- Use an encapsulant.

How to Paint Over Lead Paint: 6 Steps
If you are facing a painting project that involves lead-based paint, consider calling on the professionals at A-1 Paint Removal, Painting, and Restoration. They have the expertise, tools, and know-how to get the job done safely — and deliver the results you’re looking for.
#1: Determine if Your Surfaces Actually Have Lead Paint
The first thing you will want to do is determine that the surfaces to be painted contain lead-based paint.
This can be done by using lead test swabs that are easy to use and give you immediate results. It’s a good idea to buy these in bulk if you are painting multiple areas.
Test swabs are simple to use:
- With a utility knife, make a deep cut in the paint to expose all the layers. Pry back the resulting flap of paint.
- Squeeze the swab in the marked locations to burst the chemical capsules inside.
- Shake the applicator to mix the testing chemicals, and then squeeze the tube gently until a brownish-yellow liquid emerges from the tip.
- Rub the applicator tip against all exposed paint layers, continuing to squeeze and rub for 30 seconds.
- If the tip of the applicator turns red or pink, lead is present in the paint.
#2: Determine if Your Surface Will Tolerate an Encapsulate
Not all surfaces are suitable for encapsulation.
Surfaces where encapsulation may effectively be used need to be:
- Dry and free of:
- Dust
- Dirt
- Grease
- Smoke residue (including cigarette or hydrocarbon)
- Mold
- Mildew; and
- Other contaminants
- Free of water leaks.
- Non-glossy surfaces. You can de-gloss high-gloss surfaces with wet sanding or chemical deglossers before encapsulation.
- Architecturally sound.
- Free from damage, such as holes or cracks.
#3: Choose Which Type of Encapsulate You’ll Use
There are 3 types of encapsulants:
- Cement-like materials containing polymers – These are applied in the same way as ordinary cement and require a curing period. Once set, they form a thick coating.
- Chemical polymers or compounds – These are applied by using airless spray guns, brushes, or rollers. The resulting membrane is tough, yet flexible.
- Epoxy or polyurethane – Options for application include a brush, roller, or airless spray gun. The result is a tough, flexible membrane.
For DIY projects, epoxy-based or polymer encapsulation products are generally recommended since they do not require mixing.
It’s important to note that if the lead-based paint is damaged, you cannot cover it with an encapsulant. In this situation, the only solution is to completely remove the lead paint.

#4: Gather All Recommended Safety Gear
If you are planning to remove lead paint on your own, you must be fully equipped with the correct safety gear and equipment to complete the task and to clean up afterward, including:
- Protective clothing that covers as much skin as possible, including:
- Goggles
- Gloves
- Coveralls
- Shoe covers; and
- Other related accessories and clothing
- Disposable face masks or a respirator with a NIOSH-certified HEPA filter N-100, P-100, or R-100
- Coverings for sealing off the work area, including:
- Heavy-duty plastic sheeting
- Tarps; and
- Tape
- Plastic bags for holding debris and cleaning materials
- Buckets and rags
- A vacuum with HEPA filters
#5: Prep the Space or Room
The next thing you will need to do is to prepare the area where you will be working by:
- Removing all furniture and household items from the room.
- Wiping down all surfaces that are to be painted with a warm damp towel. It’s important to wipe only in one direction.
- Covering all surfaces with drop cloths that are secured to the floor with painter’s tape.
#6: Complete the Encapsulation Process
Once you have completed the prep work, you can begin encapsulation by using the following methods:
- Start by doing a test application of the encapsulant. Wipe down the surface and apply the encapsulant to a 6×6 inch area.
- Once the area is dry to the touch, check for any bubbling, peeling, or cracking. It is generally best to allow several days for any negative results to appear, as some encapsulants may take an extended time before showing signs of cracking or peeling.
- If the encapsulant passes the test, follow the manufacturer’s instructions for preparing the surface.
- Apply the encapsulant per the manufacturer’s instructions.
- Follow manufacturer’s instructions for cleanup.

Can You Paint Over Lead-Based Paint on Your Own, or Does the Process Require a Professional?
Be sure to check the laws in your state for any policies involving lead encapsulation.
In some states, you will be required to undergo training before being granted permission to encapsulate lead paint — even if the project is in your own home.
A1 Paint Removal, Painting & Restoration: Abating Lead-Based Paint Is One of Our Specialties
If your painting project involves surfaces with lead-based paint, you want a professional who has the training and experience needed to do the job safely.
Family-owned and operated since 1995, A1 has worked on residential and historical homes throughout Portland and the surrounding areas.
Our paint removal techniques encompass the best and most current paint removal processes in the business.
No matter what your painting project is, the pros at A1 have the knowledge and skills to get it done right.
Give us a call today to schedule a free visit to discuss your needs. We’ll provide you with an easy-to-understand free estimate — with no hidden fees.
A1 is the clear choice for all of your residential and commercial painting needs.